Tried turning your Raspberry Pi into a media center but feeling disappointed?
Missing the important channels, like Netflix and Amazon Video, on your Raspberry Pi? Fancy installing Plex for accessing content on your home network, or Disney Plus?
Fortunately, Kodi isn't all about illegal add-ons. Here's how to install Netflix, Amazon Video, and Plex on your Raspberry Pi streaming box.
A Raspberry Pi 4 Is Best
Before you go any further, make sure you're using a Raspberry Pi 4 or at least a Raspberry Pi 3. We've tested this with the Raspberry Pi 3 B+ and Pi 4.
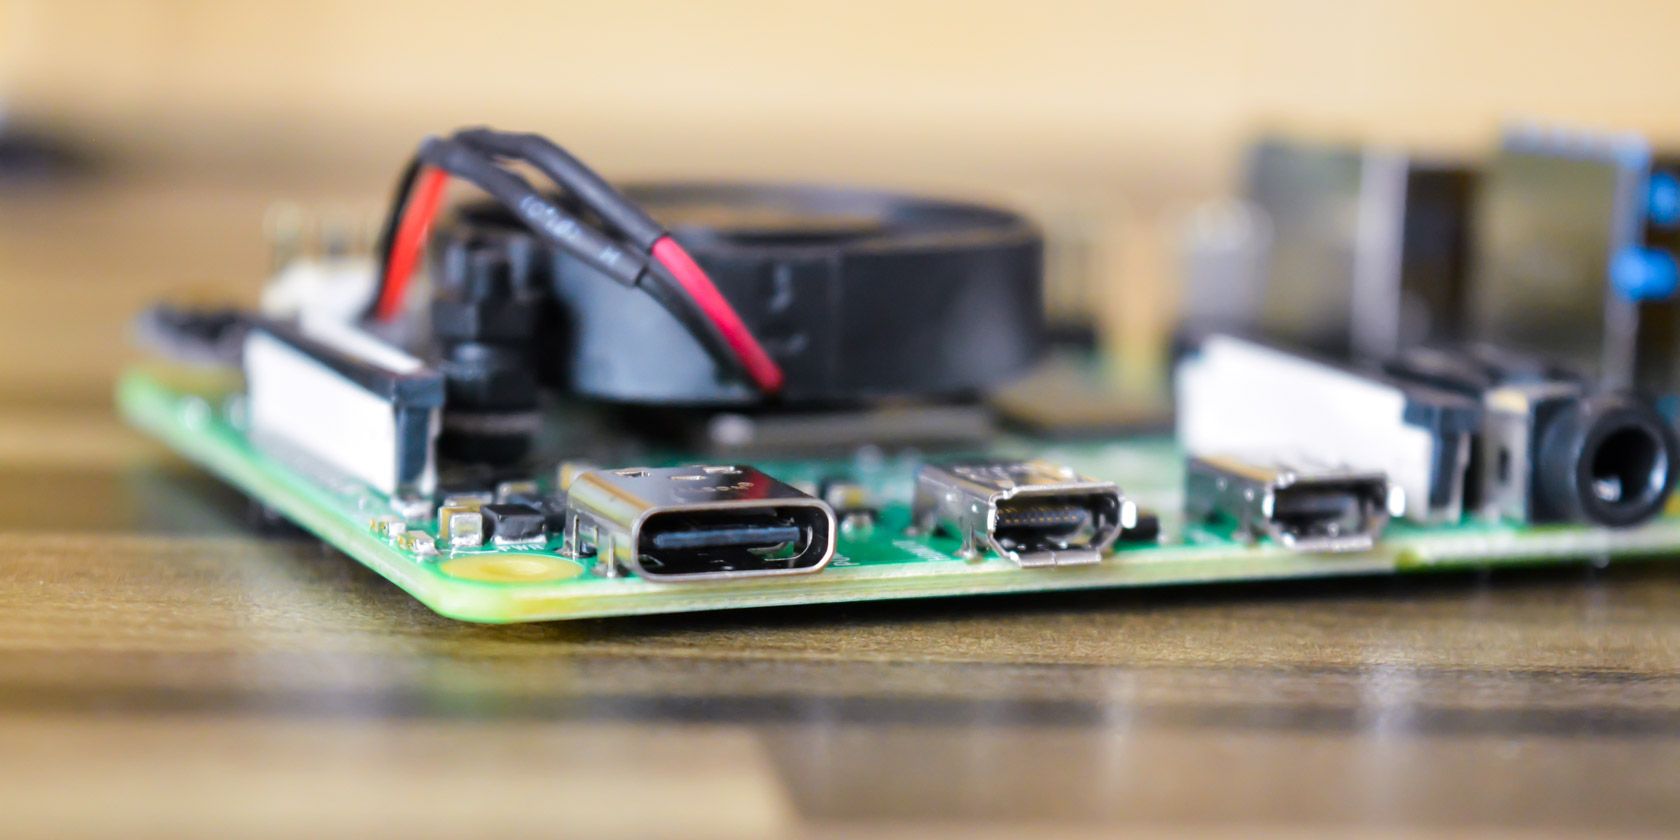
Reality check: if you've ever tried to get Netflix or Amazon Video add-ons working on a Raspberry Pi-based Kodi box, you'll know how tricky (and frustrating) it can be.
Typically, these problems are due to a combination of poor add-ons (or ones that will only work with desktop PC Kodi installations) and the low spec of older Raspberry Pis. If you're using a Raspberry Pi 4, the following steps will allow you to access your existing streaming service subscriptions via Kodi.
Install Kodi on Raspberry Pi With OSMC
To get Netflix, Amazon Video, and Plex working with minimal effort, you'll need to use OSMC (Open-Source Media Center). OSMC is one of several Kodi versions available for Raspberry Pi.
You have three options for installing OSMC.
1. Use the OSMC Installer
Download the installer from osmc.tv, which automates the process of writing OSMC to your microSD card. This is available for Windows and macOS.
Download: OSMC installer for Raspberry Pi 4
Work through the installer, making sure to select the most recent OSMC build. You might also like to set up your wireless network when prompted.
2. Use the Raspberry Pi Imager
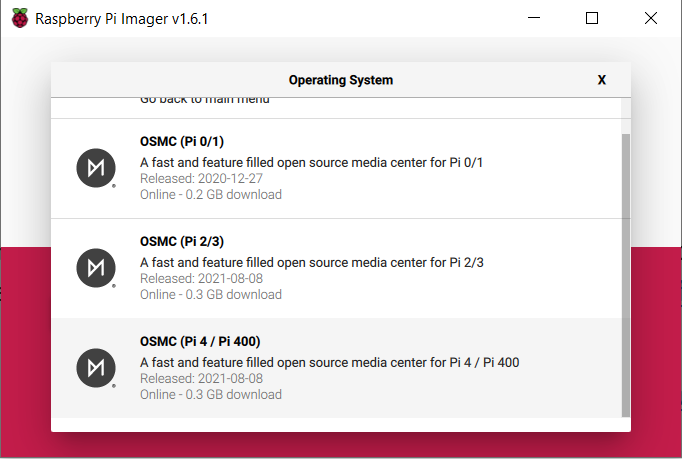
Alternatively, you can install OSMC using the Raspberry Pi Imager. This is available from the official Raspberry Pi site and comes various operating systems ready to install, including OSMC for Raspberry Pi 4.
Download: Raspberry Pi Imager
Simply click Choose OS > Media player – Kodi OS > OSMC and choose the version for your Raspberry Pi model. Then select the correct storage device and click Write.
Our guide to installing an operating system on the Pi walks you through using the Raspberry Pi Imager.
3. Download the Disk Image
Your final option is to download the disk image for OSMC. This can be found on the same page as the installer, by scrolling down to the version that matches your Pi model.
Download: OSMC disk image for Raspberry Pi 4
You can then use your preferred SD card writing software to complete installation.
Boot OSMC on Your Raspberry Pi
Once OSMC is installed to your SD card, safely eject from your PC, and insert the card in your Raspberry Pi. Ensure the computer is connected to your router via Ethernet (Wi-Fi can wait until everything is configured) and your TV's HDMI port, then connect the power cable.
Your Raspberry Pi will then boot into OSMC's automated installer. Wait while the files install and the system reboots. OSMC will then open, providing you with a Kodi media center on your Raspberry Pi. Some basic configuration is required for language, time zone, device hostname, and enable or disable SHH.
You should also update OSMC before proceeding. Go to Settings > My OSMC > Updates > Manual Controls then select Scan for updates now.
Wait while the update procedure completes and OSMC reboots.
With that done, you're ready to configure OSMC with Plex, Amazon Video, Netflix, and Disney Plus.
Install and Configure Plex for Local Media Streaming
Want to stream video, music, or photos from another device on your network? You'll need the Plex server installed on your PC, and the client add-on installed on your Raspberry Pi.
Related: Turn Raspberry Pi into a Plex Media Server
With OSMC running on your Raspberry Pi:
- Browse to Settings
- Go to Add-on browser
- Select Install from Repository > Video add-ons
- Find and select Plex in the list and Install
- Click OK to confirm and wait for completion
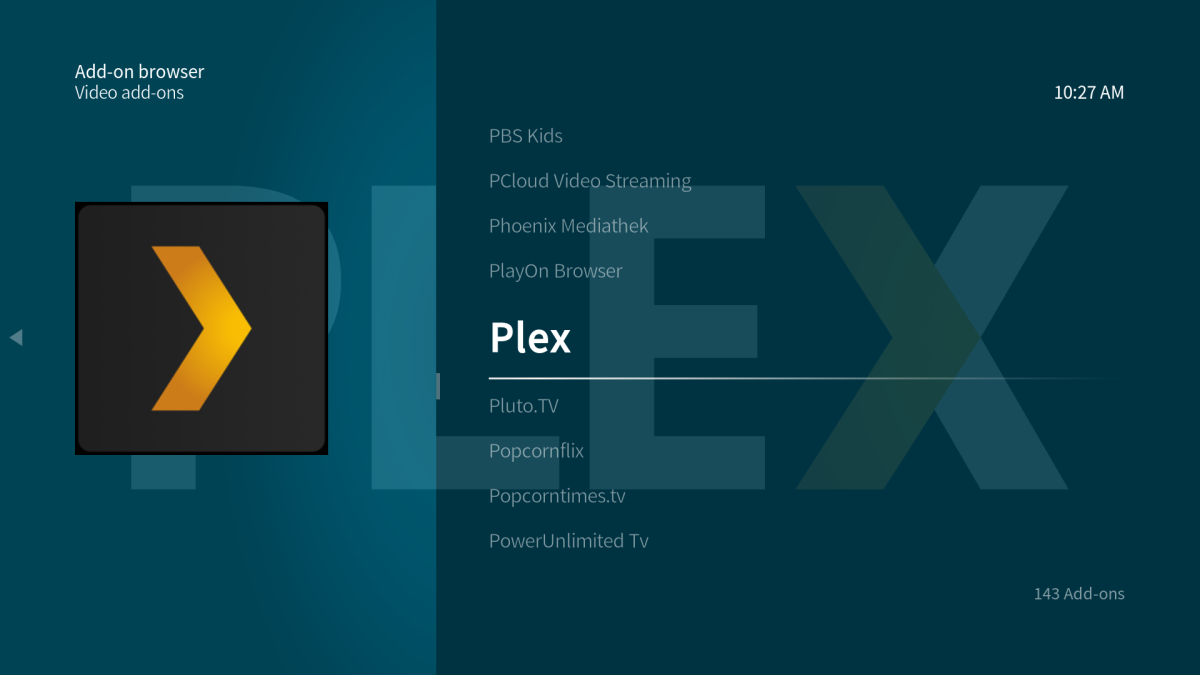
Once done, use the Restart option to reboot the Raspberry Pi.
While that's happening, learn about some hidden Plex settings you should be using. When the Pi restarts, use the Plex add-on to connect to the Plex server on your network.
Install and Configure Amazon Video on Raspberry Pi
Want to stream Amazon Video on your Raspberry Pi?
First, open a terminal or SSH client on your PC and connect to the Raspberry Pi. You'll find the IP address for the device in OSMC via Settings > System Info. Connect over SSH using the username and password (osmc is the default for both), then use wget to download the ZIP file directly from GitHub:
wget https://github.com/Sandmann79/xbmc/releases/download/Repository/repository.sandmann79-py3.plugins-1.0.0-matrix.zipWith this done, switch your attention back to OSMC and enable unknown sources:
- Open Settings
- Select System > Add-ons
- Select Unknown sources
- Confirm by selecting Yes
This allows you to install third party software that is not available via Kodi.
Once you've done that, install the repository:
- Open Settings
- Select Add-on browser > Install from Zip File
- Proceed when prompted
- Select Root filesystem
- Browse to home > osmc > repository.sandmann79-py3.plugins-1.0.0-matrix.zip
After it unpacks, browse back a screen then:
- Select Install from repository > Sandmann79s Repository Matrix
- Choose Video add-ons
- Select Amazon VOD > Install
- When prompted, agree to install additional software requisite
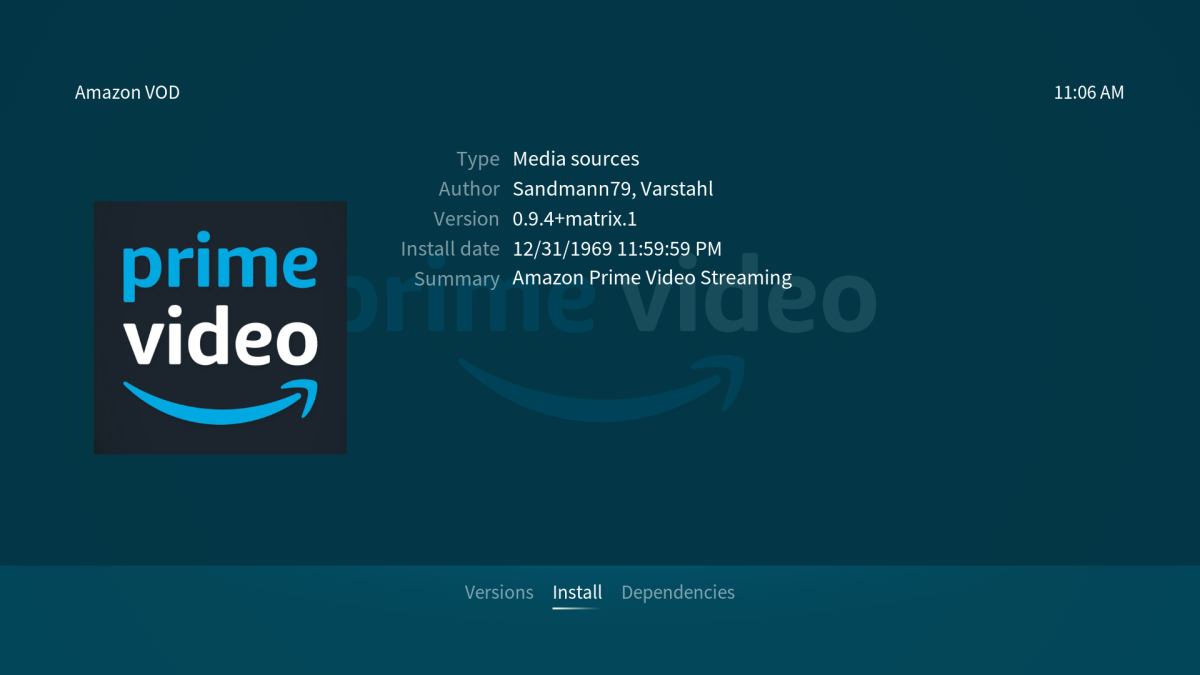
Leave it to finish, then reboot your Raspberry Pi. When it restarts, sign in and configure the add-on:
- Browse to Settings > Add-on browser
- Go to My Add-ons > Video Add-ons
- Select Amazon VOD
- Go to Configure
- Select Connection > Amazon Account and Sign In
- Enter your usual login and password, along with the OTP if you have two factor authentication set up on your account
- Click OK to continue when sign-in is successful
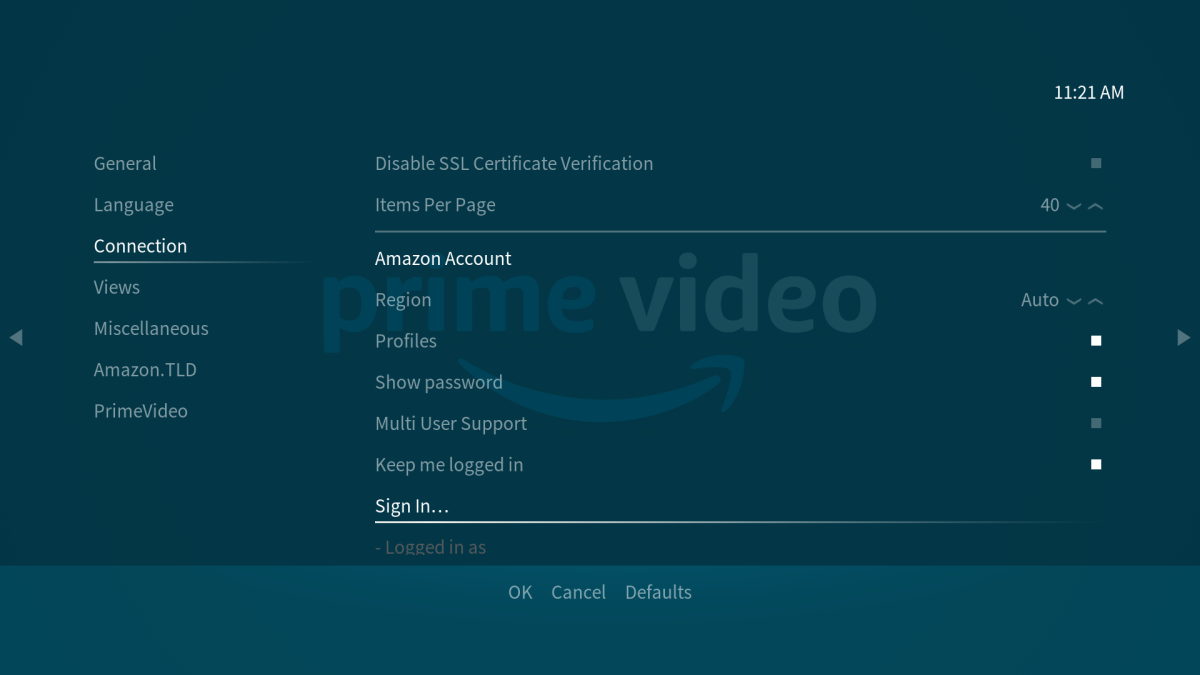
Selecting the correct Input Stream configuration ensures the Pi receives video data it can use. In the Configure screen:
- Select General > Inputstream Addon Settings
- Enable Override DHCP Status
- Click OK to confirm
With this done, you'll be ready to watch Amazon video content! You'll find Amazon VOD listed in Videos > Video add-ons.
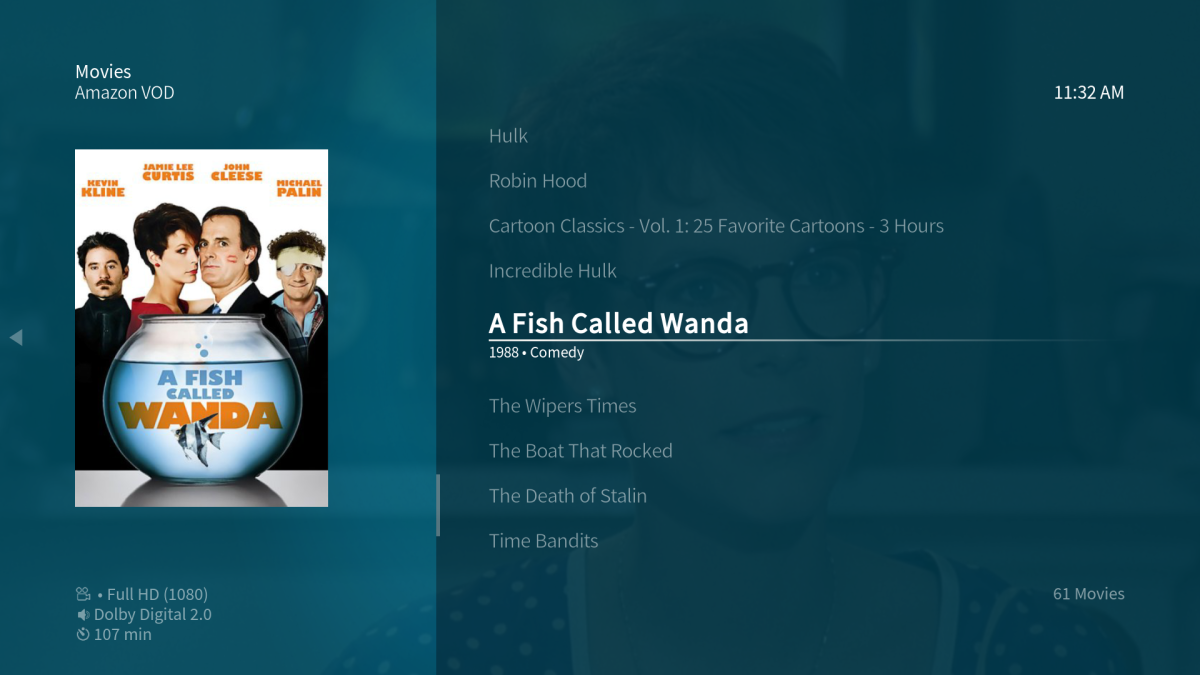
Your different profiles can be selected if you have them set up, your Watchlist is there, along with everything else you would expect to find.
Install and Configure Netflix on Raspberry Pi
Let's look at streaming Netflix on the Raspberry Pi next.
To install a Netflix client on your Raspberry Pi, connect over SSH again and download this installation script from GitHub:
wget https://raw.githubusercontent.com/zjoasan/netflix-install-script/master/netflix_prep_install.shNext, make the script executable with
chmod +x netflix_prep_install.shThen run the script
./netflix_prep_install.sh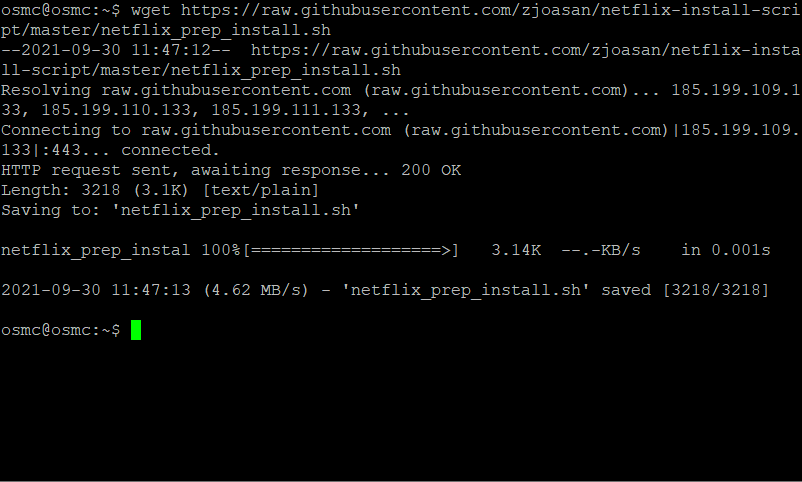
Enter Y when prompted, then select OK when the configuration of the software necessary to run Netflix on the Raspberry Pi completes. If it doesn't happen automatically, restart OSMC.
On your TV, using OSMC, browse to:
- Settings > Add-on browser
- Select Install from Zip File
- Tap Yes to proceed
- Open Root filesystem
- Browse to home > osmc > addons
- Select netflix-repo.zip and click OK
When CastagnaIT Repository has installed, click back, then choose Install from repository, then:
- Select CastagnaIT Repository for Kodi 19.x (MATRIX)
- Select Video add-ons > Netflix
- Click Install
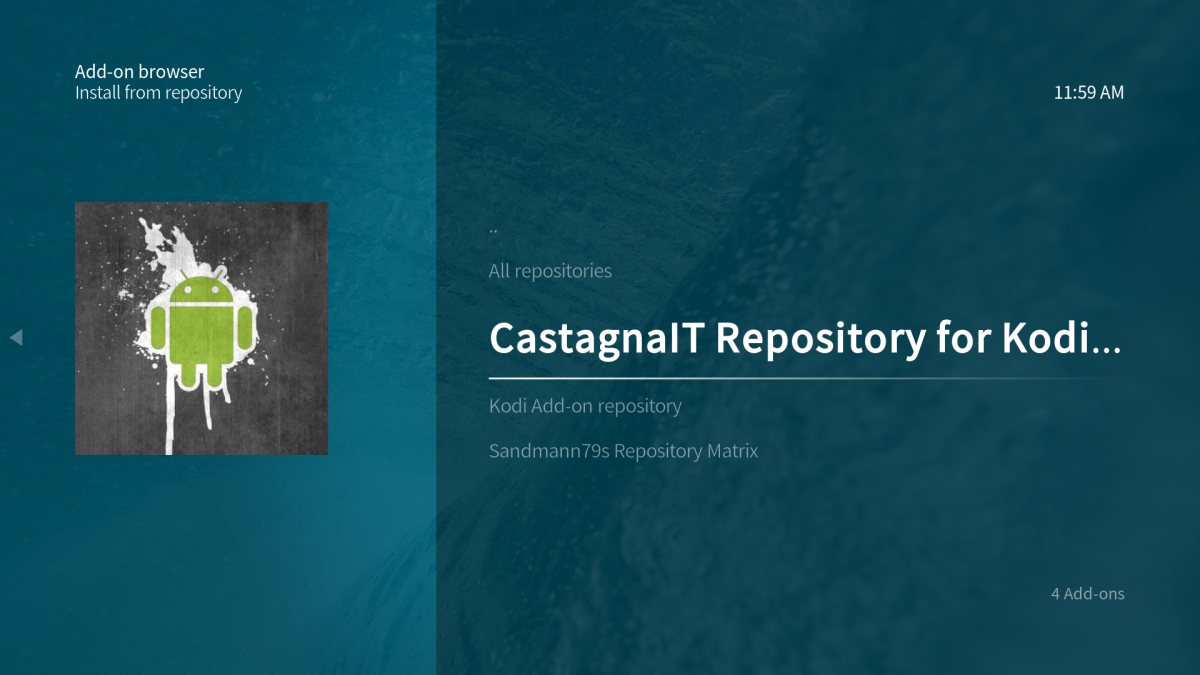
Wait for notification of completion, then reboot OSMC again.
With OSMC running again, you'll need to configure the add-on with your Netflix credentials. Select Videos > Video add-ons > Netflix and when prompted choose your preferred login method (Authentication key or Email/password).
Once successfully logged in, you'll be able to select your profile, see the shows and movies you've saved to your list, see the popular shows, and basically access all the same menus as you would in the Netflix app on any other device. At this point, however, don't attempt to play anything until you've installed Widevine CDM (instructions for that are below).
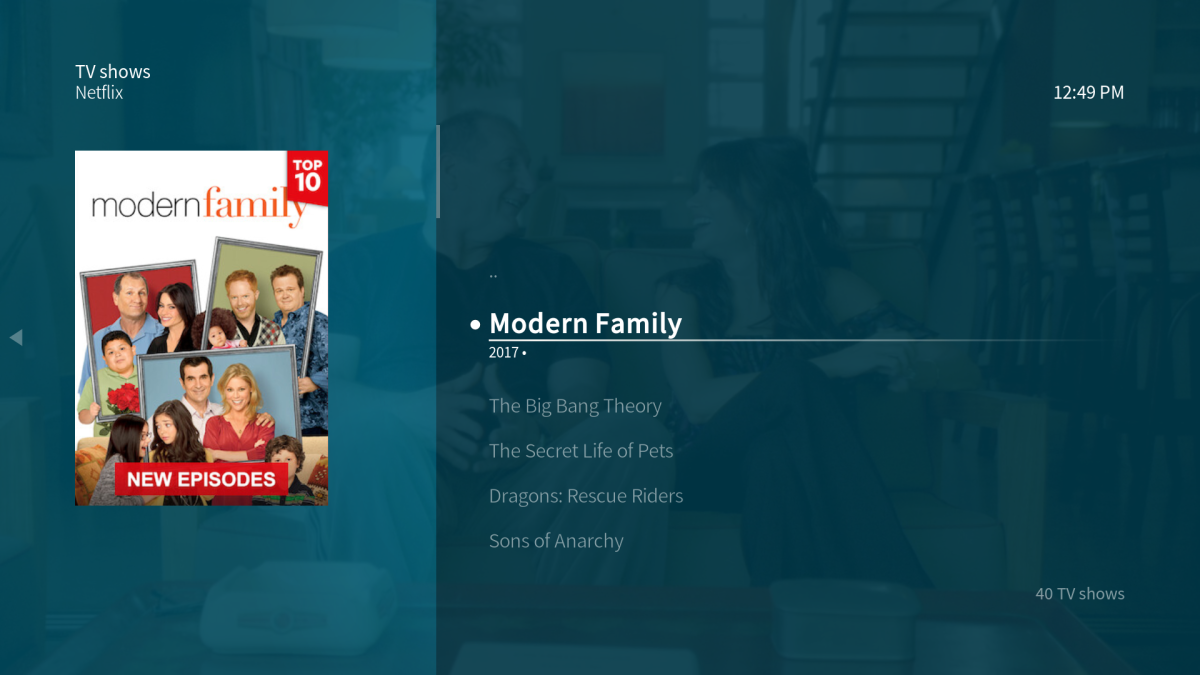
You'll also need to enable the InputStream module. In Settings > Add-on browser > My add-ons, find VideoPlayer InputStream and select InputStream Adaptive.
Choose Configure, then set Max Resolution general decoder and Max Resolution secure decoder to match the resolution of your TV.
Click OK to confirm and exit. You just turned your Raspberry Pi into a media center running Netflix.
Install and Configure Disney Plus on Raspberry Pi
Finally, if you want to install Disney Plus on your Raspberry Pi media center running the OSMC build of Kodi, you first need to install a new repository. Ensure that unknown sources are enabled (as explained earlier in this guide) before proceeding.
- Go to Settings > File manager
- Here, select Add source then click into the None field
- Input the URL http://k.slyguy.xyz then Done
- In the box below, name the media source slyguy then click OK
- Go back then open Settings > Add-on browser
- Choose Install from ZIP file then Yes to agree to the warning
- Select slyguy then slyguy.zip to install
- Wait for confirmation the repository has been installed successfully
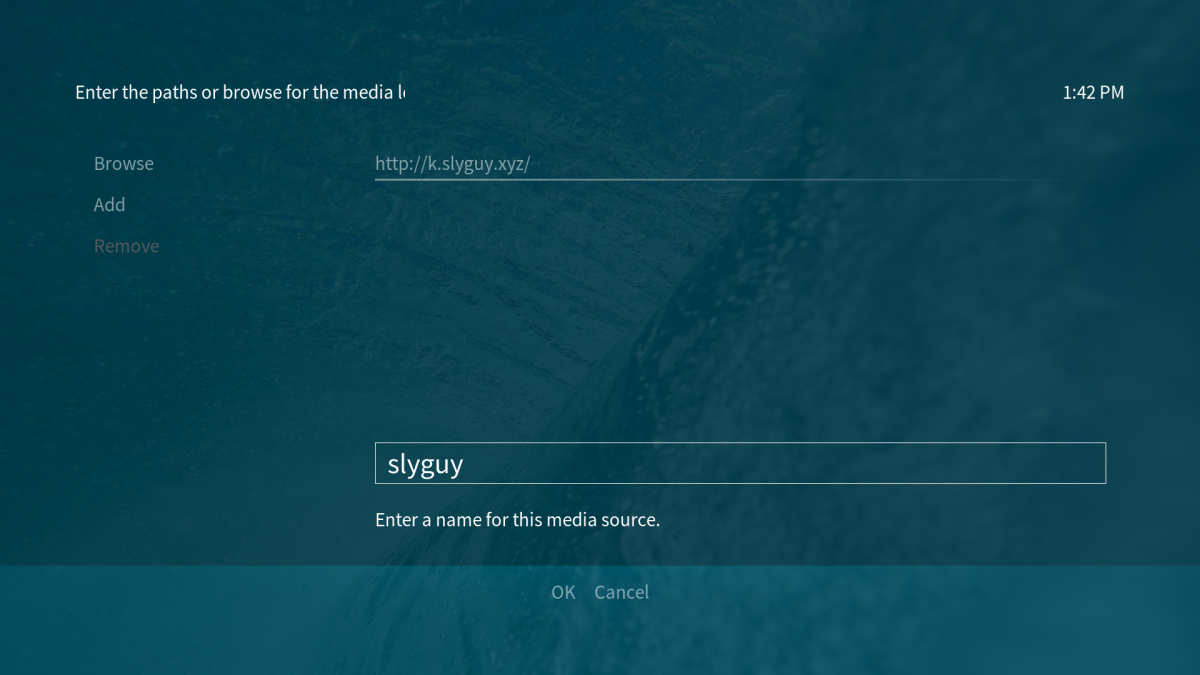
Within the slyguy repository is the add-on to run Disney+ on the Raspberry Pi. To install Disney Plus on OSMC:
- Click back and choose Install from repository
- Select SlyGuy Repository
- Find Video add-ons then Disney+
- Click Install, then OK to confirm installing dependencies
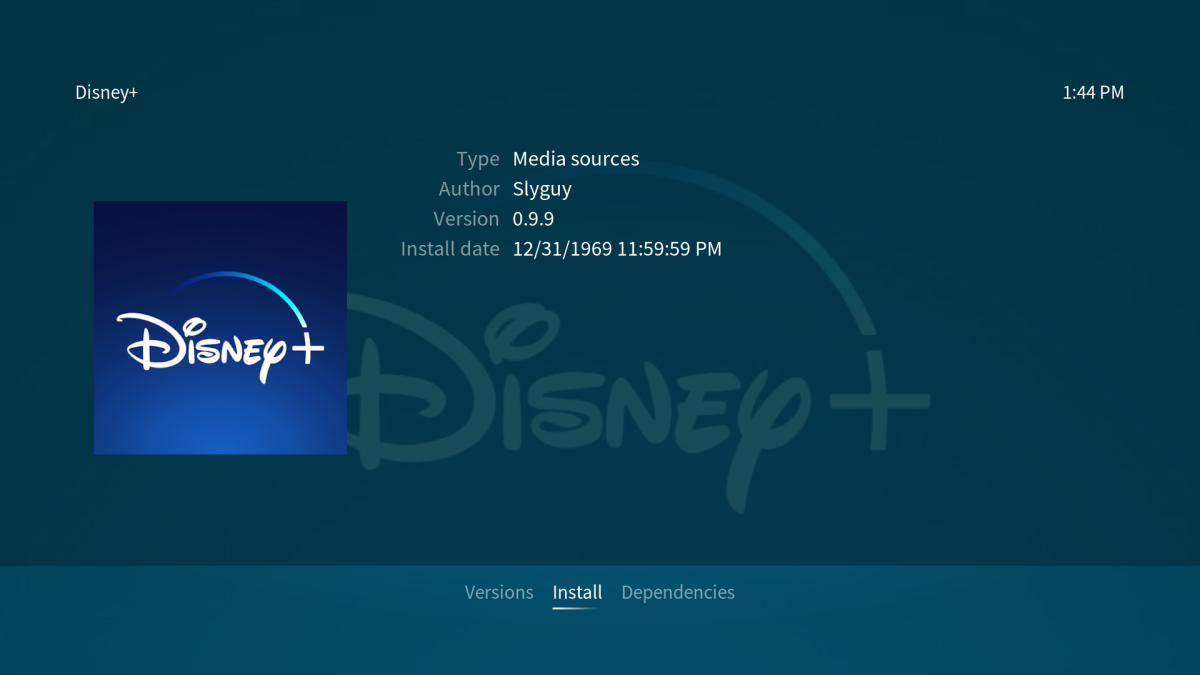
When installation of Disney Plus is complete, head to the Videos > Video add-ons screen to launch the add-on. Use the Login option to add your credentials and start using Disney Plus on your Raspberry Pi media center.
Choosing a TV show or movie to watch will let you select WidevineCDM, installation of which you'll fin instructions to below. You can also select a different version if necessary. The Disney Plus add-on also displays a choice of bitrates, so you can enjoy the best quality feed for your connection and TV.

Lastly, Install and Configure Widevine CMD
So far, you've installed Plex, Amazon Video, Netflix, and Disney Plus. You're almost set, but before you can watch anything, the Widevine CMD decryption module must be downloaded. You cannot do this manually, however; instead, it needs to be done by the Amazon or Netflix add-on.
Choose either add-on, select a video, and play. You'll instantly be notified that the Widevine CMD needs to be downloaded. Note that as this is a proprietary module, it is not open source.
Select Install Widevine and follow the instructions.
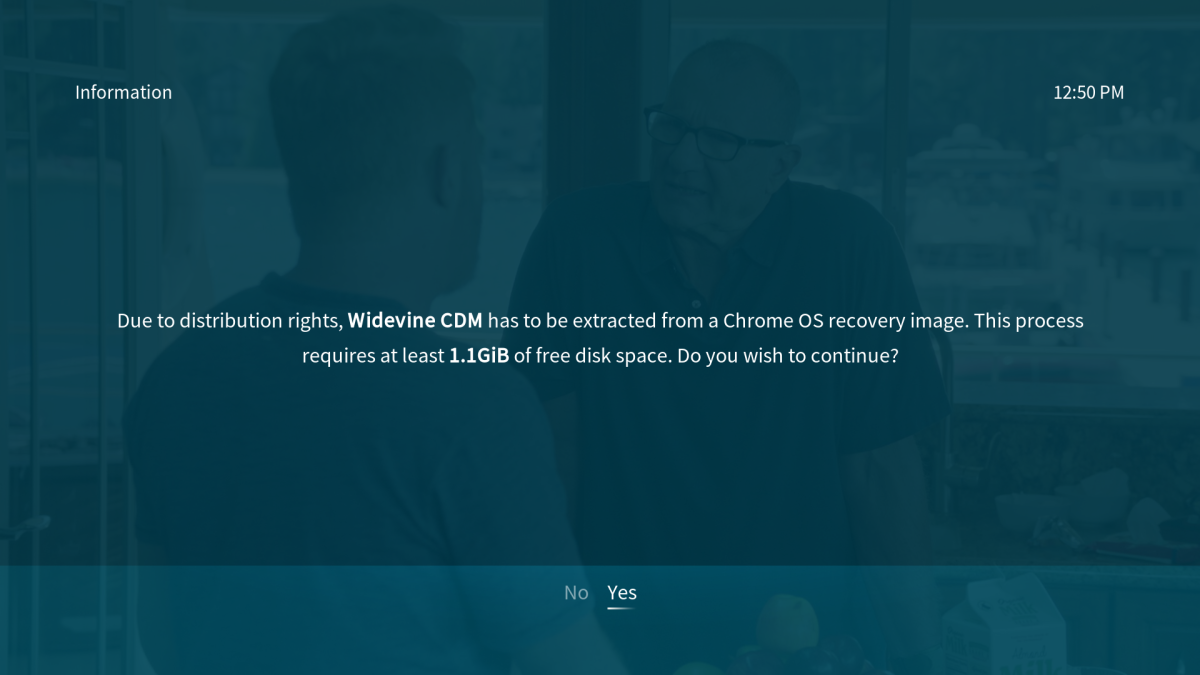
A Chrome OS recovery image much be downloaded from which the Widevine CMD is extracted. This can take a while to download and extract, so let the Raspberry Pi work at its own pace, following any requests OSMC displays to complete installation.
Once Widevine CMD is installed, it's a good idea to reboot your Raspberry Pi one last time.
Your Raspberry Pi Is Now the Ultimate Media Center
That's it: you can now stream Netflix and Amazon Video on Raspberry Pi, and it can easily stream video from another computer on your network via Plex. And you can enjoy Star Wars, Marvel, and Disney movies and TV shows thanks to the Disney Plus add-on. In short, you built a Kodi-based Raspberry Pi streaming box, and it is awesome.
It can even play retro video games.
Comments
Post a Comment