If you're planning on upgrading the theme on your WordPress site, adding plugins, or radically altering the direction, it's smart to spend some time on testing it before the changes go live.
However, this is easier said than done. WordPress doesn't offer any built-in staging features for testing and appraisal of changes you make. Everything you do gets saved and goes live, which isn't perfect.
The answer is to create a staging environment. Here are six ways you can test planned changes to a WordPress site before they go live.
What Is a WordPress Staging Site?
Setting up a WordPress test site isn't impossible,
- Web host staging tools
- Test changes in WordPress with a staging plugin
- Manually copy the site to a subdomain
- Install WordPress on your computer and test there
- Create a staging site on a virtual server
- Build a WordPress test server with an old or cheap computer
For the best results, the changes made in your WordPress staging site can be easily applied to the live environment after testing. This can be done by clicking a button (in the case of staging plugins), by repeating the configuration on the live site, or by wholesale copying and overwriting of the live site with the test site files. If you choose that option, be sure the two sites are exact replicas before proceeding and make backups first.
Here are six ways to create your own WordPress testing environment before rolling out changes to a live site.
1. Check If Your Web Host Provides Staging Tools
The easiest way to create a test environment for WordPress is through your web host. Some provide the tools you need for staging as part of the monthly hosting subscription.
If you're looking for an easy solution, this is as simple as it gets. All you need to do is sign into your hosting cPanel, select the website domain concerned, and choose the option to create a staging site. From here, you essentially have a clone of your live site where you can make changes without any impact on it.
Sadly, not all web hosts offer this facility. Three that do are WP Engine, Bluehost, and InMotion Hosting.
2. Use a Staging Plugin Like WP Staging
Slightly more difficult, but far simpler than most of the solutions to cloning your WordPress blog for testing, is to use a dedicated plugin like WP Staging.
Download: WP Staging
This plugin – which can be installed from within WordPress or uploaded – will create a subfolder on your web server, into which a staging environment will be created for testing. You can then install plugins, tweak themes and layouts, and make other adjustments to your website without affecting the live site.
One thing to note is that WP Staging does not support WordPress multisite setups without upgrading to the premium version.
An alternative to WP Staging is WP Stagecoach, but this has no free version.
3. Manually Copy Your Site to a Subdomain
Automated solutions aside, you can manually copy the folders that comprise your WordPress installation into a new subdomain.
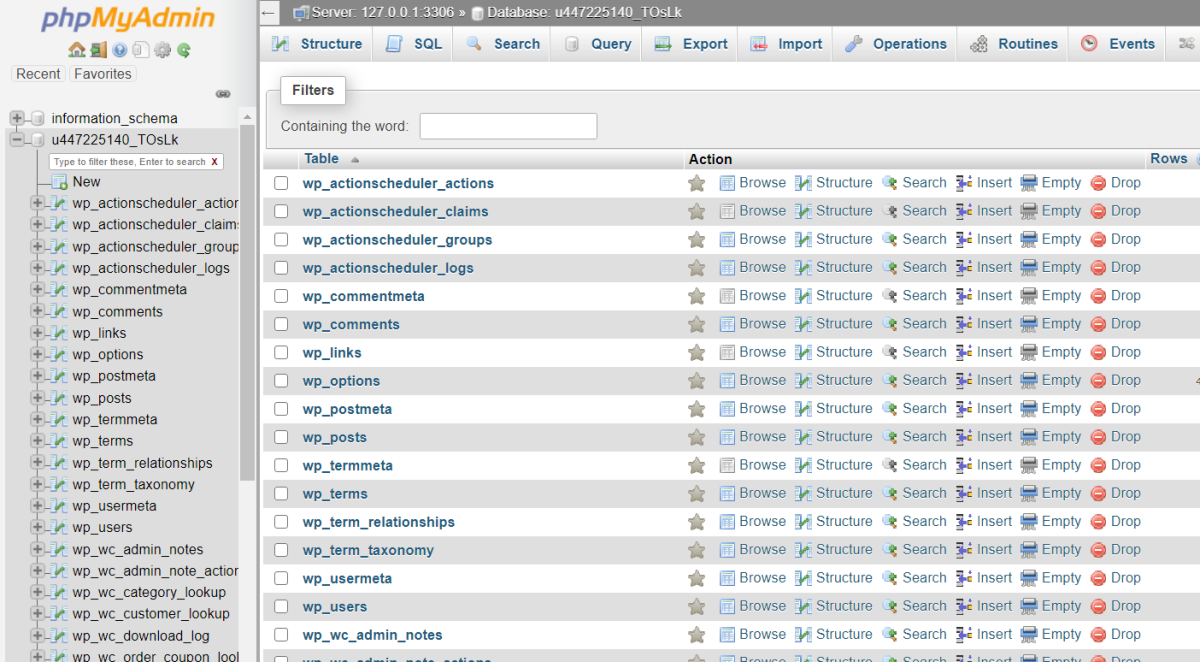
Start by creating a subdomain in your web host's cPanel. Next, using FTP or the browser-based file manager tool provided by your web host, copy the key WordPress directoy public_html into the subdomain directory. You will also need to backup the database to make a copy, then create a new database to upload the copied data to.
You can then direct your browser to the subdomain to access the WordPress staging site. Test this by opening the usual URL in your browser followed by a slash and the subdomain or use the subdomain in place of the www in the URL. For example:
- https://ift.tt/2WrQfC5
- subdomain.yourdomainname.com
Your WordPress testing site is ready for staging.
4. Install WordPress on Your PC
Local hosting on a PC is also possible for WordPress.
This solution isn't too difficult, but it can be time intensive. Installing WordPress on Windows means:
- Installing XAMPP or WAMP
- Creating a database
- Installing WordPress and creating a website
To populate that website with your existing site, you use a backup plugin to export data from the live site and import into the test environment. Once satisfied with the results, reverse the process.
5. Use Virtualization to Create a Staging Site on Your PC
Another option for running a test environment of WordPress is to set up a virtual server on your PC. The easiest way to do this is download a dedicated app installer from www.bitnami.com. This is a free tool by VMware that lets you install various web applications on your PC.
WordPress is one of many apps included. The installer creates a virtual machine on your computer, configures the chosen web app, then lets you set it up as if you were using a web server.
To download the right version, select Applications > Win/Mac/Linux and click WordPress to download the installer. If you are familiar with virtualization, you can also choose the Virtual Machines option to download a VM and set that up in your virtual machine software of choice instead.
6. Build a Dedicated Testing Server on an Old PC or Raspberry Pi
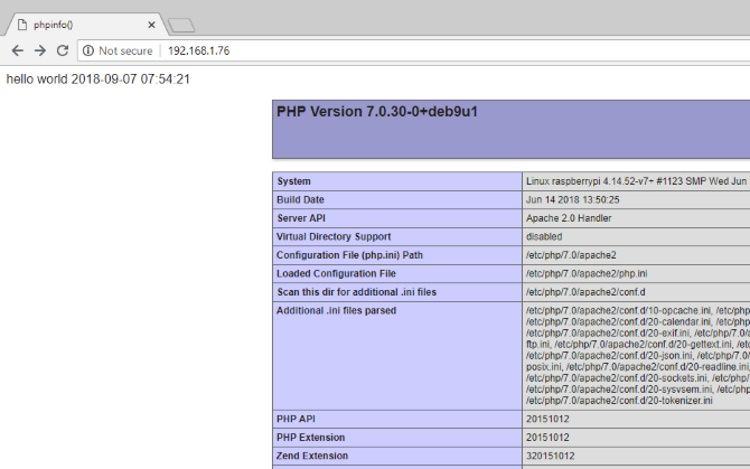
Your final option is to use an old PC or buy a cheap computer like the Raspberry Pi. All that is required here is to install the operating system then install WordPress as explained above. It's a good solution if your current computer isn't up to the task of hosting a website for testing purposes.
Don't have an old PC? A Raspberry Pi 2 or later should do the job perfectly and starts at around $40. [LINK]
Making Changes to WordPress? Use a Staging Site for Testing
You can't make significant changes to a live WordPress blog. If anything goes wrong, you'll need to undo it, potentially forcing your site offline, and eating up valuable time undoing the change and potentially restoring a backup.
Staging sites are ideal for testing changes to WordPress. Use one of these methods to prepare your own WordPress test site.
Comments
Post a Comment