Unlike what Microsoft had initially stated, Windows 10 isn't "the final version of Windows." Windows 11 is coming soon, and apart from a collection of new features, it will also have a heavily tweaked desktop.
Many who've tried a leaked version of the OS are praising Microsoft's cleaner and more streamlined new desktop. However, you don't have to illegally download the leaked, unstable, and unsupported version of Windows 11 to enjoy its new looks. Instead, you can tweak your existing Windows 10 installation to look like Microsoft's next Windows, as we'll see here.
A Clean New Look
Windows 11 includes an assortment of tweaks to many of its visual elements. Combined, they make Microsoft's next OS look cleaner and sleeker than Windows 10. You can already bring your Windows 10 desktop closer to Windows 11's by using some of its wallpapers. Beyond that, you can get even closer to the real Windows 11 visual experience.
Although it's impossible to fully recreate Windows 11 on Windows 10, tweaking the desktop elements with a more substantial visual impact can bring us quite close.
Those elements are:
- The window theme.
- The icons.
- The taskbar.
Thankfully, that's easy with the proper tools.
A note on compatibility: The tools we're using state they're compatible with Windows 10 Builds 1903-21H1. Thus, you should avoid trying them on different builds, for they could render your OS unusable.
We suggest you back up your OS before using them, even if you're using a compatible build. Take a full backup, or at the very least, create a system restore point before you begin.
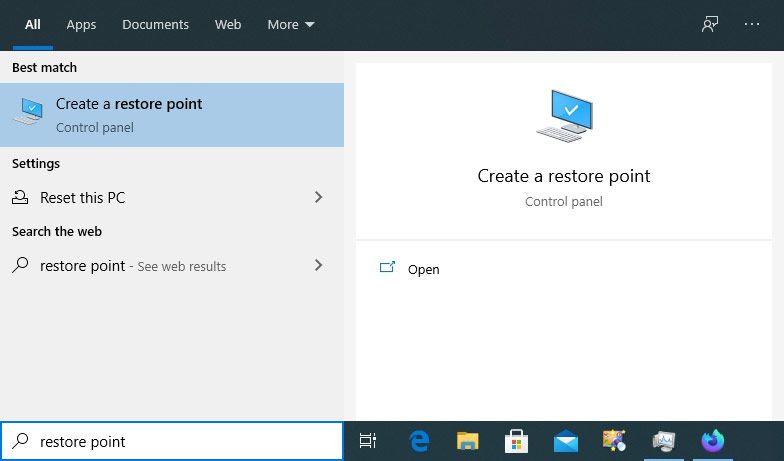
Change the Window Theme and Icons
By default, Windows 10 has a handful of themes only, with light and dark variants for two of them. You can get more themes from the Microsoft Store, but they're usually not as striking as those from individual artists available at sites like DeviantArt. However, Windows 10's security doesn't allow installing such themes unless you force it using a tool that can sidestep those restrictions.
Two such tools are UltraUXThemePatcher and SecureUxTheme. For this tutorial, we'll go for the newer and safer SecureUxTheme.
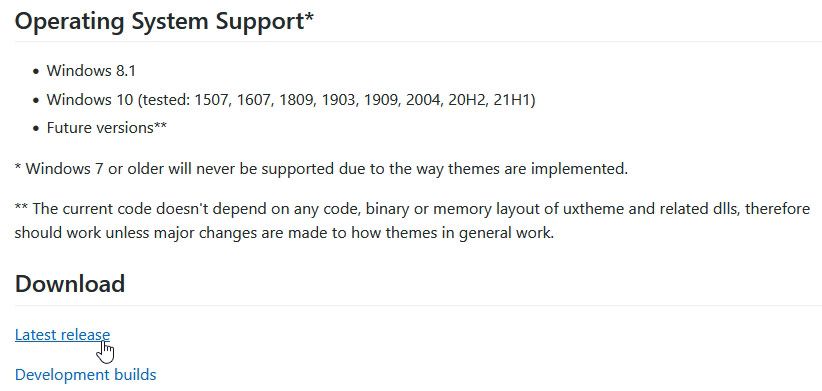
Pay a visit to SecureUxTheme's GitHub page, scroll to the Download section, and download the Latest release.
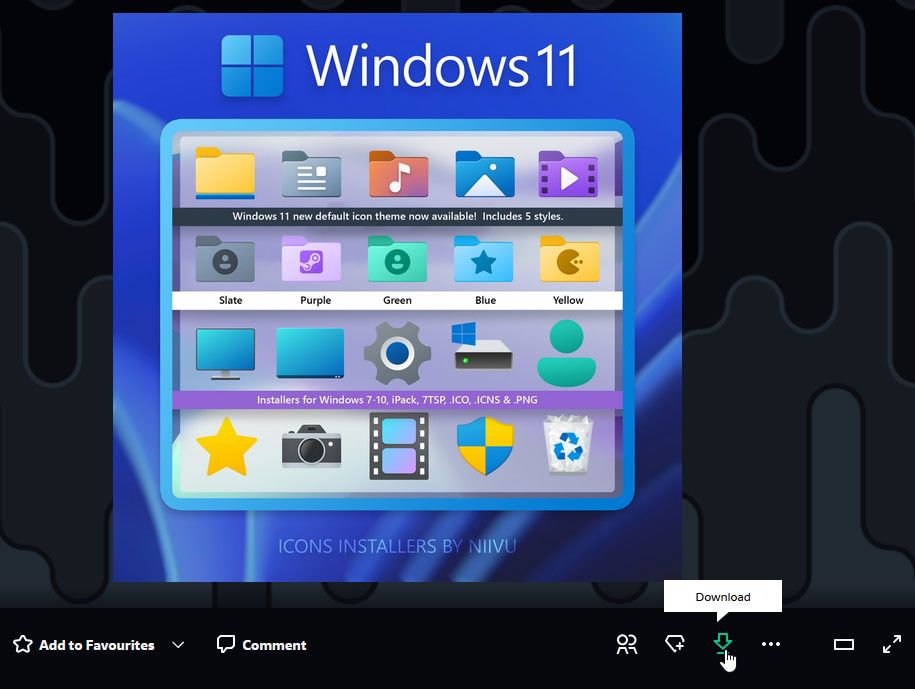
Create an account at DeviantArt's site to download files if you don't have one. Guests can only view them. Then, download niivu's Windows 11 for Windows 10 theme. For ease of use, create a new folder with a name like "Win11_theme", and save all the files we'll use there.
Stay at DeviantArt and download niivu's Windows 11 Icon Theme, and save it into the same folder.
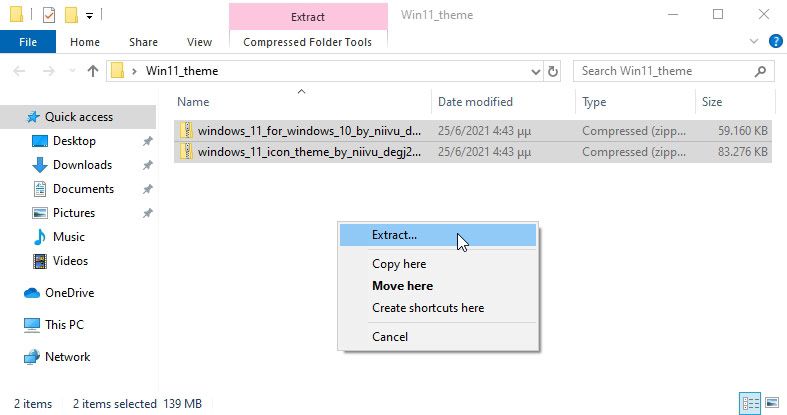
Extract both files into your temporary theme folder.
Unfortunately, SecureUxTheme only supports window themes, not icons. So you'll need a different tool for those, and one of the most popular ones is 7TSP (short for Seven Theme Source Patcher). You'll also find it at DeviantArt, so it's easier to download it together with the window and icon themes.
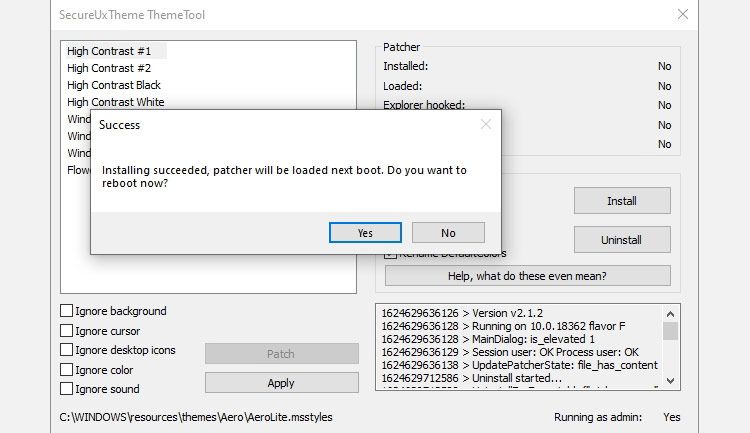
Open the folder where you've saved everything. Next, right-click on SecureUxTheme's file and run it as an administrator. Leave everything as-it-is for now and click on Install on the right.
A successful installation message will pop up and prompt for a reboot to make the changes take effect. Restart your PC.
After a reboot, return to the folder where you unpacked the theme and icon files you've downloaded. Inside the theme's folder, you'll find a Windows 10 Themes sub-folder, with two versions of the theme in two more sub-folders.
One offers a regular and the other a "thick" taskbar. Choose the one you prefer, enter the folder, and copy everything you'll find inside (with keyboard shortcuts CTRL + A and then CTRL + C).
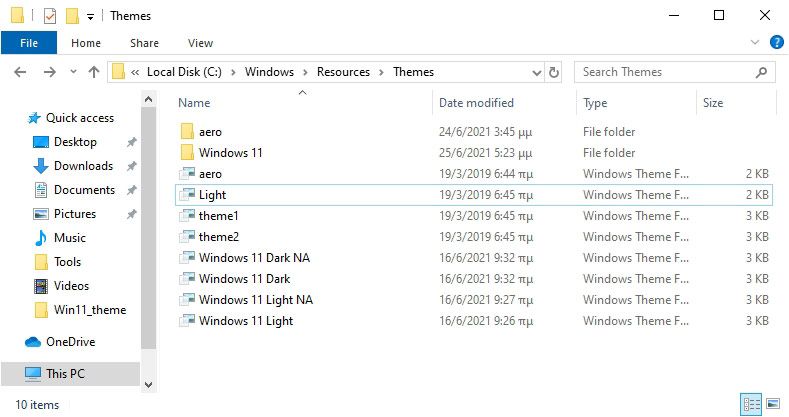
For convenience, run a second instance of File Explorer (Windows Key + F). Then, navigate to C:\Windows\Resources\Themes, and paste the theme's files there (CTRL + V).
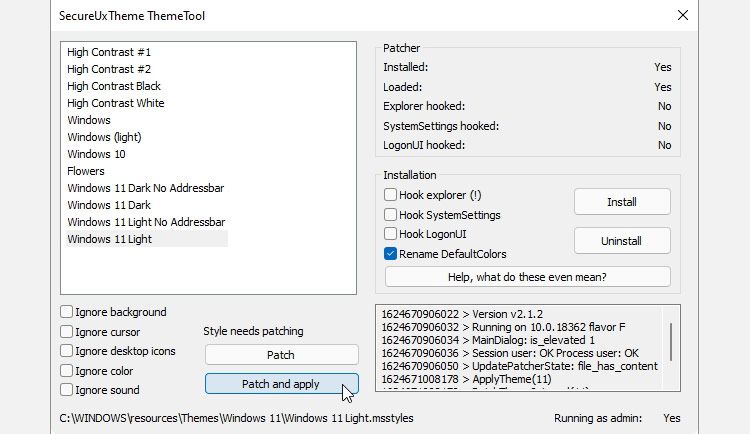
Run SecureUxTheme as administrator again, and this time you'll see the new theme you've added to the Windows 10 themes folder listed on the top left. Choose the variant you prefer (dark or light, with or without address bar).
Select Patch and apply to use the selected theme.
Your desktop will lock for some seconds, and Windows will prompt you to wait while the new theme is applied. When you're back at your desktop, the new theme will be used on all windows. You can now close SecureUxTheme.
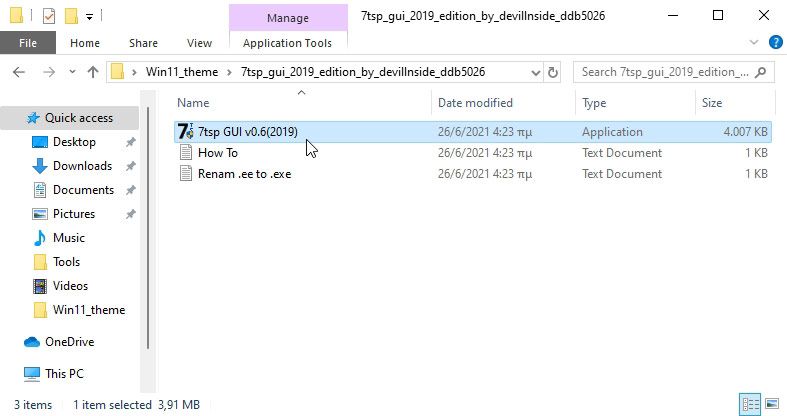
Extract 7TSP and note that the executable file doesn't have an EXE file extension but an "ee" one. Select the file, press F2 to rename it, and add an "x" between "ee" to turn its extension to "exe" and render the file executable.
For convenience, run the app now and minimize it as you have to run it later.
Now, some more file-renaming is required. Visit the icon theme's folder and enter the "7TSP Themes for Windows 10 1903 and higher" sub-folder.
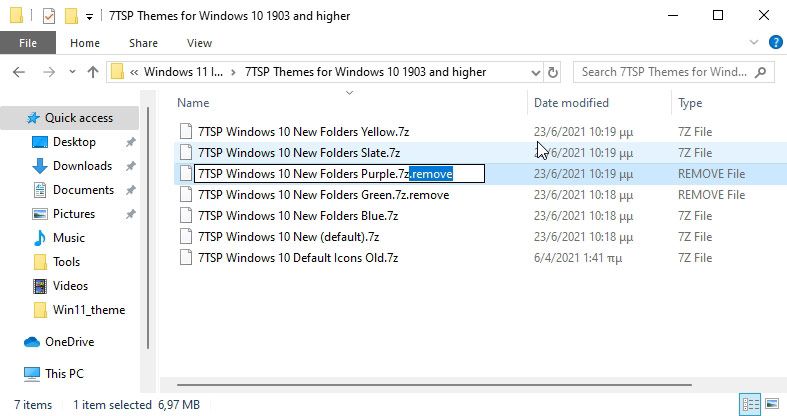
There are different variants of the icon theme. You can use any one of them, but they are unusable because of their ".remove" extension.
As before, rename them first. But this time, instead of tweaking their extension, delete ".remove" completely, including the dot, and leave everything before it as a file name.
Return to 7TSP and click on Add a Custom Pack. Locate and select the icon theme you want to install, and click on Start Patching (on the bottom right of the window).
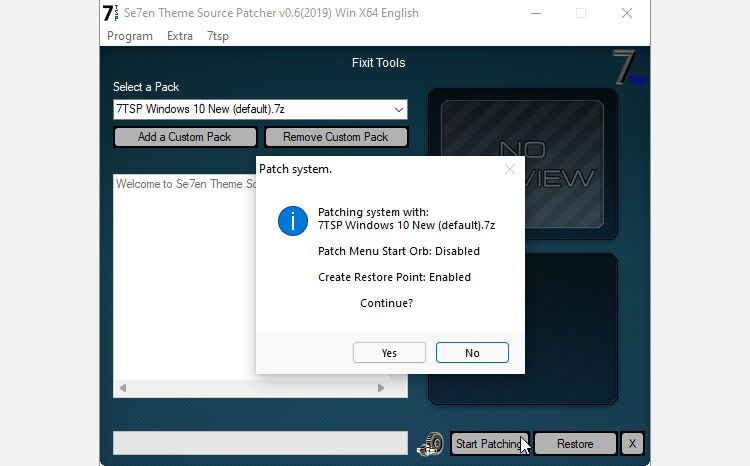
After a while, 7TSP will show you some stats about the time it took to patch your OS and prompt you to reboot your computer to apply the changes.
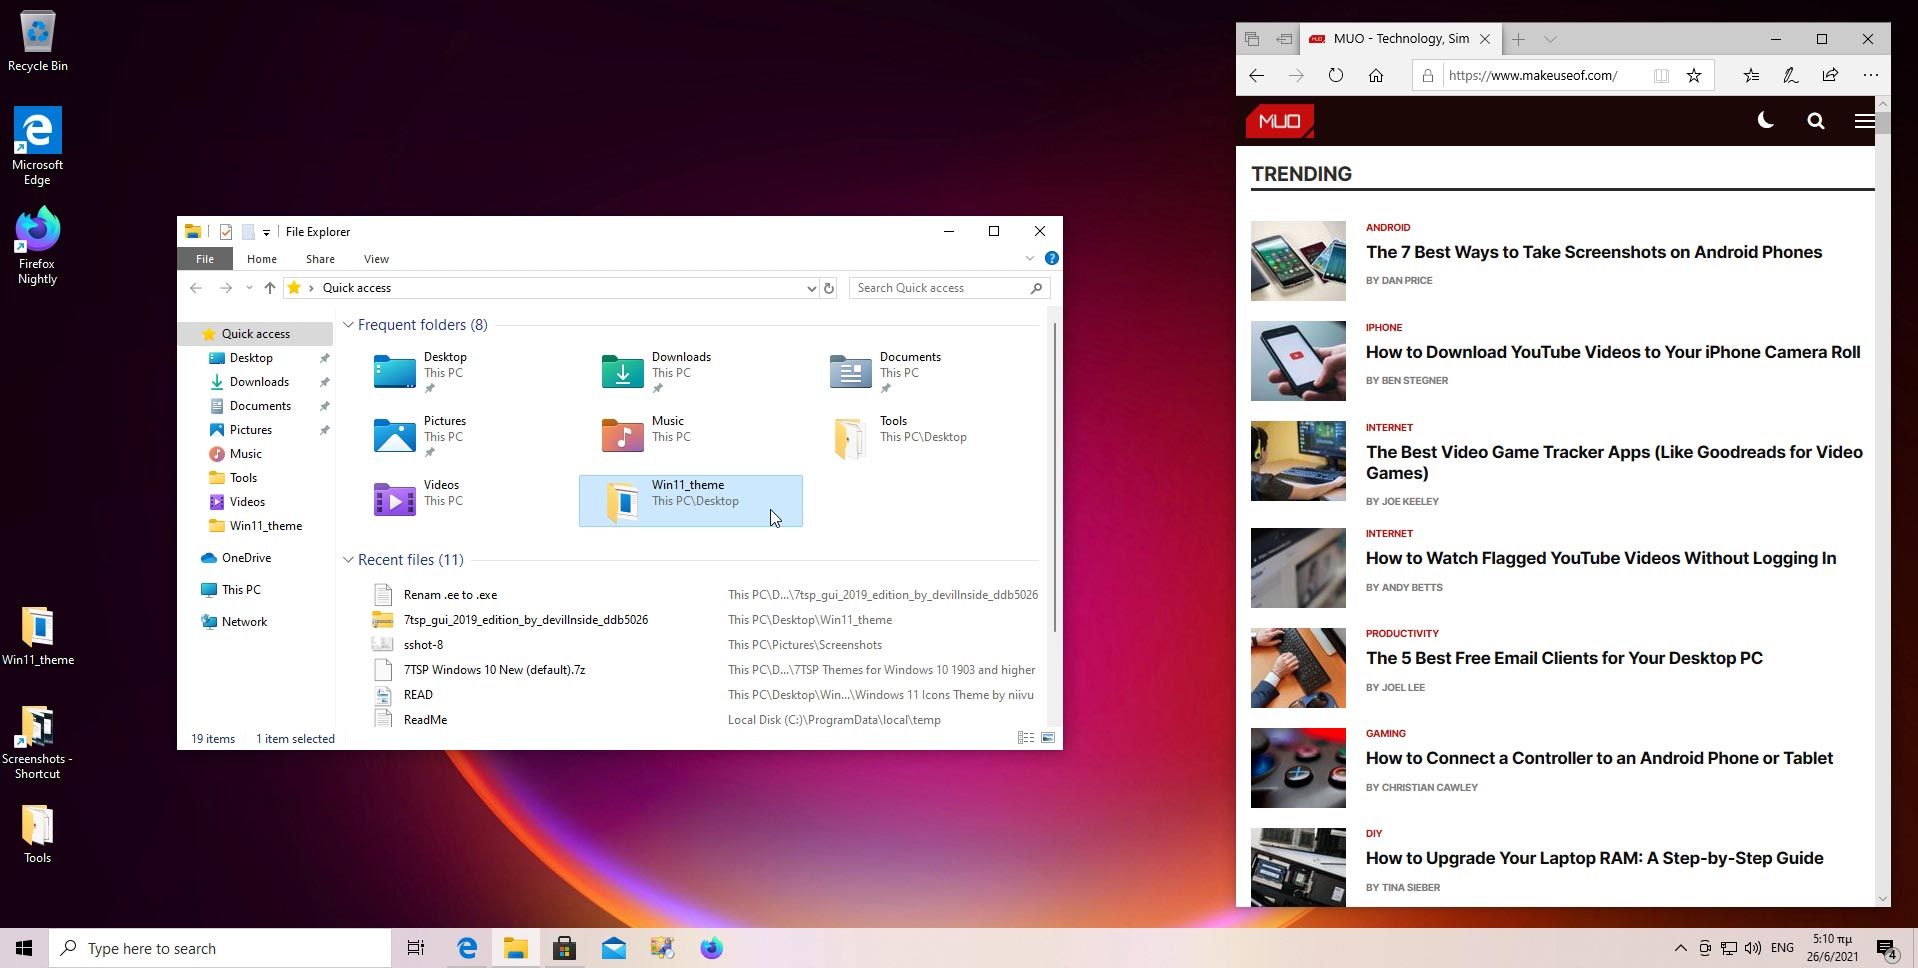
Your desktop will now look different—a hybrid of Windows 10 and 11. Still, we can do even better.
Centered Icons on the Taskbar
We've left the centered taskbar for last though it's probably the first thing anyone notices on the refreshed Windows 11 desktop. That's because this is the most straightforward tweak of all.
You only have to run a program that many have already been using for years and accept its default settings: TaskbarX.
Download one of the "portable" versions of TaskbarX from its official site. The program doesn't come with an installer, so you should unpack the downloaded file directly to a folder from where you'd like to run it from now on. Then, manually create a shortcut to TaskbarX Configurator on your desktop.
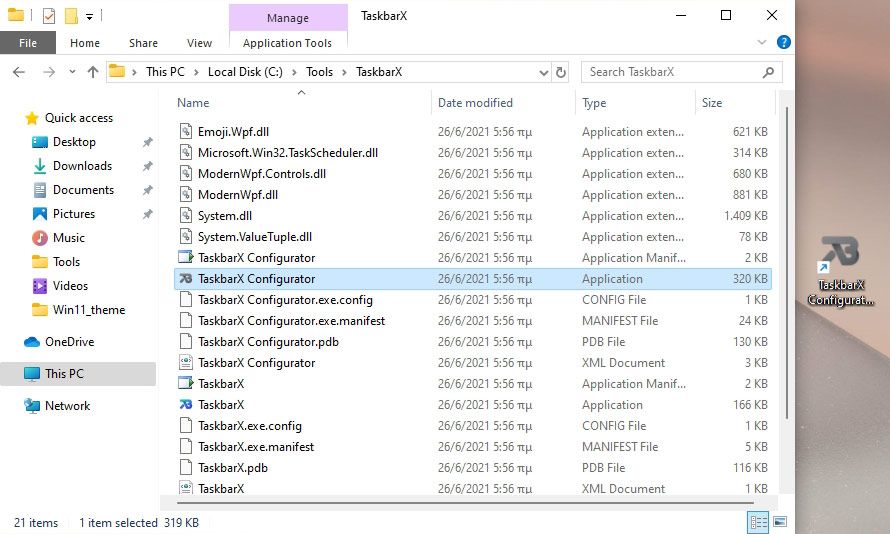
Run TaskbarX Configurator and click on Apply to use its default values. Your taskbar's icons will move to its center. However, unlike on Windows 11, the Start button and tray will stay put at the edges of the taskbar, which will still cover the whole width of your screen.
If you wish, you can play with the rest of TaskbarX's options to further configure your taskbar to your liking. For example, you can control its color, change between visual modes, un-center the icons by manually setting their margin from the elements to their left and right, etc.
Note: TaskbarX's latest version, 1.7.0.0 at the time of writing, didn't work for us as expected. The icons on our Windows 10 taskbar stayed in place. Instead, the previous version (1.6.9.0) worked fine.
Customizing a Fresh Look for Windows 10
The tweaks we saw can bring your Windows 10 desktop close to what Windows 11 looks like. It might not be a true clone, nor come with the benefits (and questionable changes) Microsoft's next OS will bring to your computers.
It's a nice refresh until then, but why stay close to the generic Windows 11 looks now that you've started customizing your desktop? You could tweak it further with tools like Rainmeter precisely as you want it.
Comments
Post a Comment