The Essential Sound panel in Adobe Premiere Pro offers an easy-to-use set of tools to better adjust audio levels, apply effects, and repair common issues you might face with sound in your videos.
It also gives you the means to create a video product that has a decent balance of music, sound effects, and audible dialog. This can greatly add to the professionalism of a video, as overpowering music or indiscernible dialog can make your work jarring.
This article will examine just how you can use the Essential Sound feature to get your audio sounding more level and professional.
Getting Started With Essential Sound
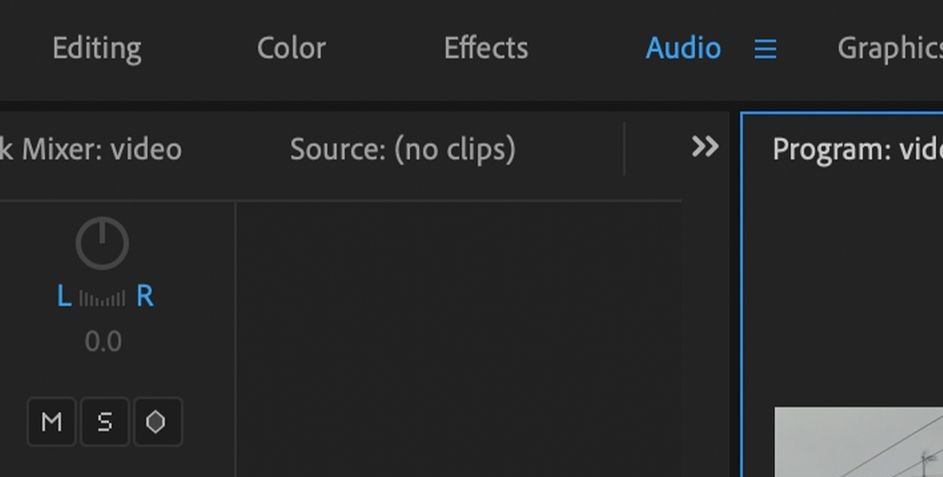
First, open Adobe Premiere Pro, and head to the file that you want to work on. To access the Essential Sound workflow from your timeline, simply click the Audio tab at the very top of the Premiere window.
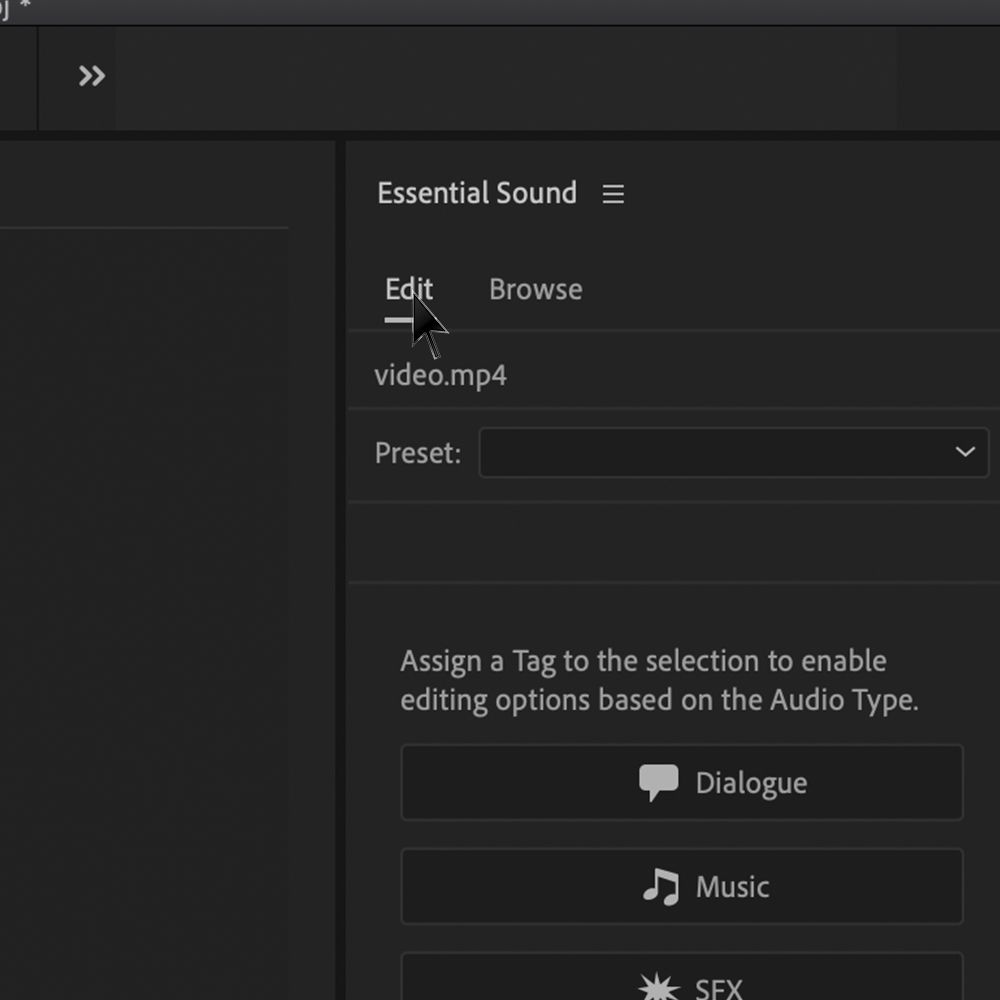
From there, navigate to the Edit tab on the right-hand side. This area is where you apply different settings to the audio files in your timeline.
These settings are known as Tags, and they are divided into four basic categories: Dialog, Music, SFX, and Ambience. Attaching these tags to a clip in your timeline will automatically apply a basic volume level depending on which tag you use.
Once tags are applied to your clips, you can add additional effects and filters, as well as make further adjustments to the volume.
Using Tags With Your Audio Clips
Let's imagine a basic timeline, like cutting a video of a group of people toasting at a party. You have three audio clips to use: a woman saying "cheers," a piece of music, and the sound of glasses clinking.
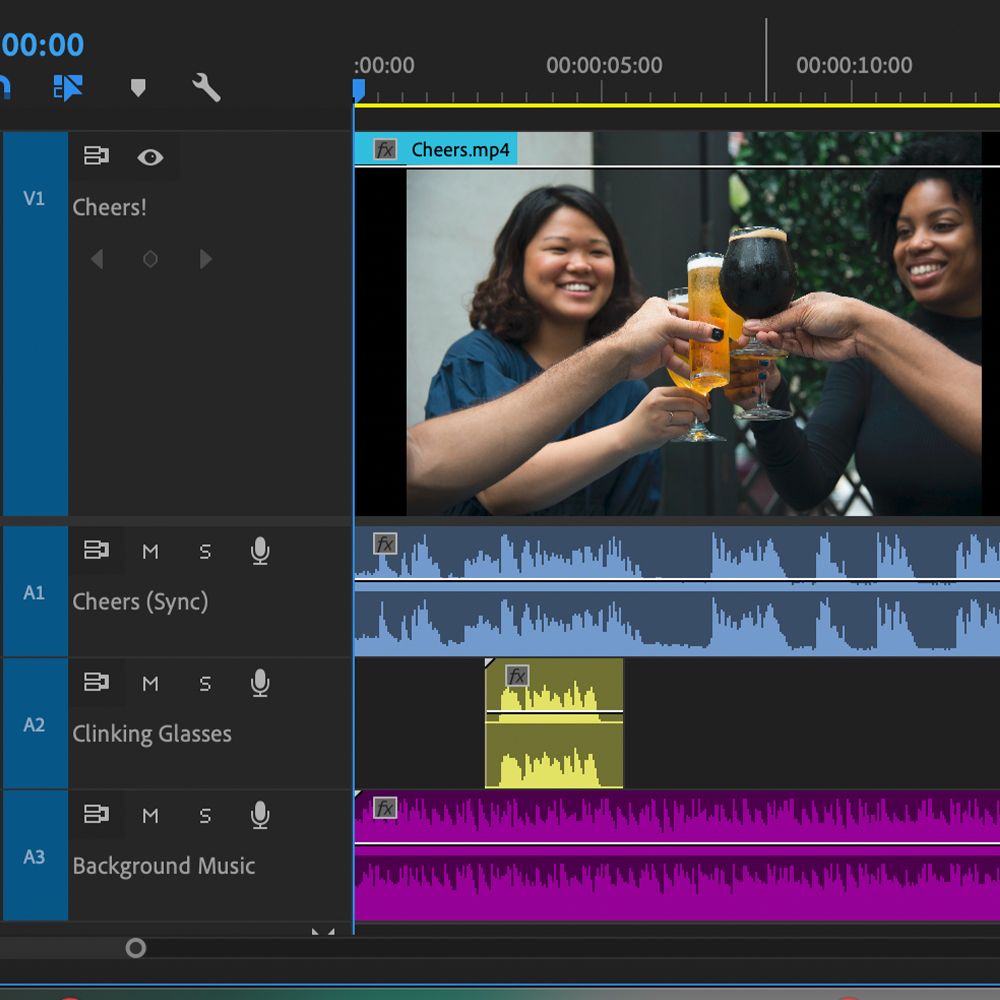
First, select the clip of the woman saying "cheers" in your timeline. Navigate to the Essential Sound panel to the right, and click the Dialog button.
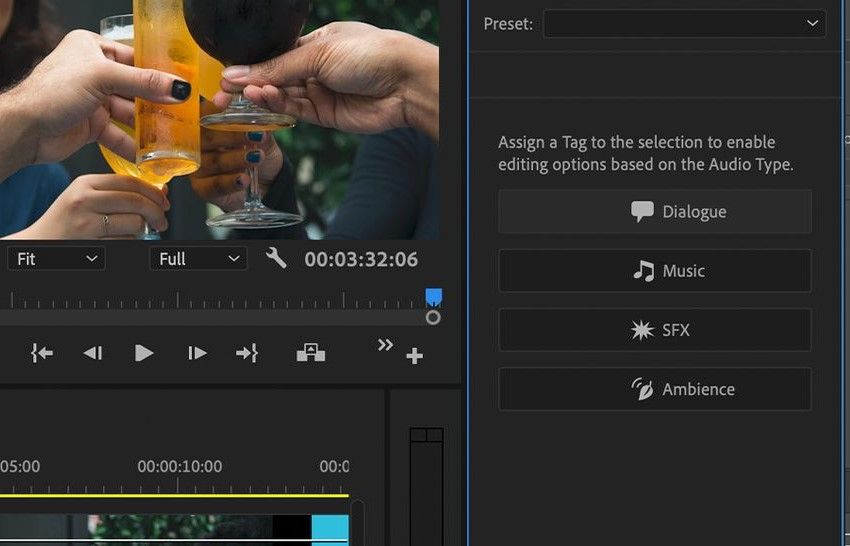
Doing this now applies the Dialog tab to your clip—you'll notice a new set of controls, including a dropdown Preset setting. Because it's a woman speaking, click on that dropdown box, and select the Balanced Female Voice preset.
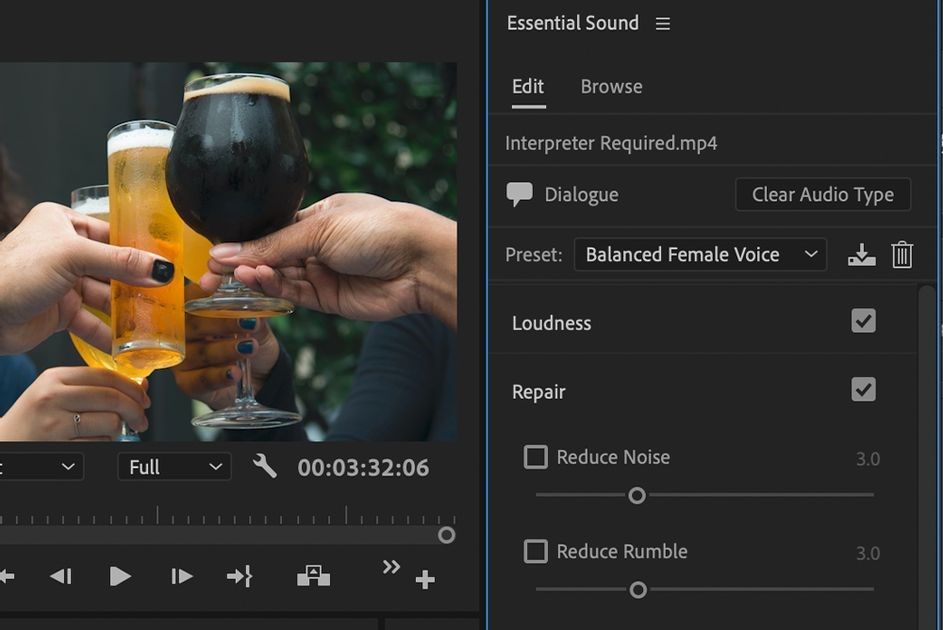
Doing this adjusts the audio's levels to a preset specifically for dialog. But if you feel it is still too loud or too quiet, you can make further adjustments using the Volume slider at the bottom of the panel.
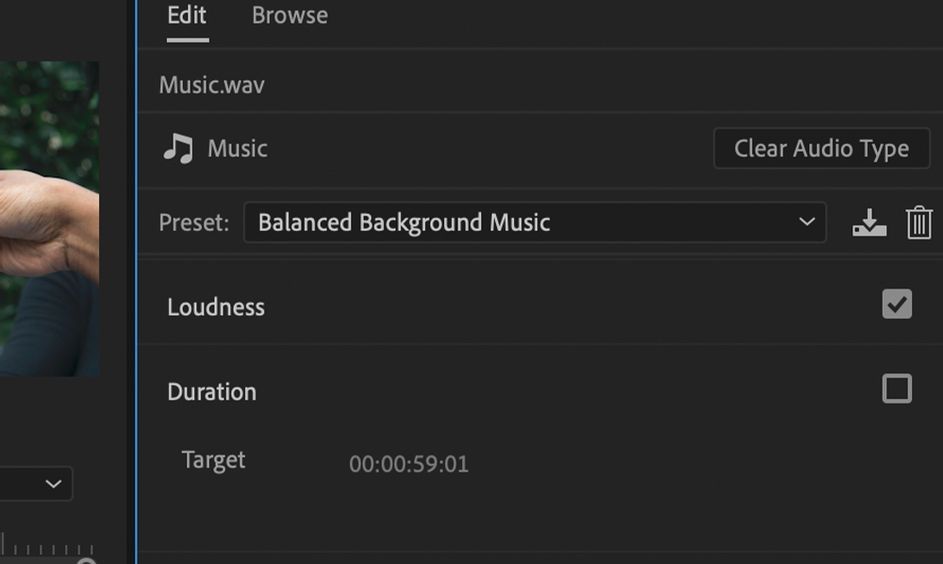
Now, let's do the same for the other two tracks. The music clip in the timeline (obviously) receives a Music tag. From the dropdown Preset setting, you again have a range of options—in this case, Balanced Background Music would be appropriate. This keeps the music track below the voices and sound effects in a way that isn't too intrusive.
Finally, the sound of glasses clinking receives an SFX tag. Once again, you can adjust the volume of the clip if you feel it is too loud or too quiet after auto-leveling.
Applying a tag to an audio clip opens up a lot more sliders and options, such as dynamics, clarity, speech enhancement, repair, and special effects. Experimenting with these brings the best out of your video's sound.
If you want to practice this yourself, there are a variety of sites available that offer both royalty-free music and royalty-free footage to get started with.
Repairing Issues With Audio
The Repair feature is particularly useful if your audio clips have issues with background audio, as it allows you to pull out voices from noisy environments. Let's take a few moments to run through this.
Say you are editing a video interview shot earlier in the day, but someone nearby started mowing their lawn while it was being filmed. The production team neglected to do anything about it, and now you have a noisy lawn mower in your interview.
Now, it's unlikely you'll be able to remove the sound of the lawnmower completely, but with the Repair option, you may be able to at least reduce or dampen it.
First, select the offending clip in your timeline. If it's of an individual talking, you are once again going to select the Dialog tag from the Essential Sound panel. If it's a man, you'd select the Balanced Male Voice tag.
Now that's done, you can start applying noise reduction from the Repair settings on the right-hand side. Clicking on the Repair tab expands the list of options available—you'll see that one of these options is Reduce Noise, and selecting the checkbox enables it.
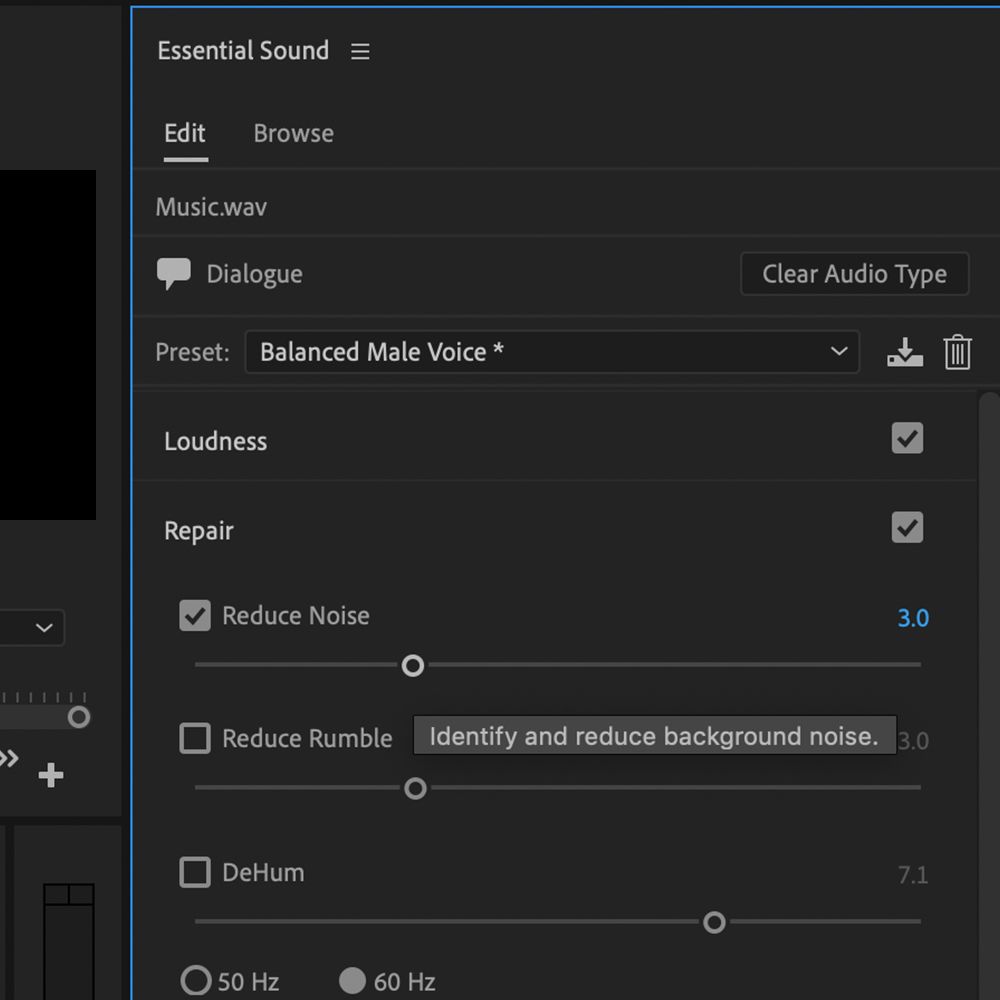
Now that's enabled, you can go about adjusting just how much background noise is removed. Play around with the slider to try and reduce the sound of the lawn mower in the background. Beware that overuse of this feature can make your dialog sound like it's underwater.
You'll also notice options for Reduce Reverb. This can be a particularly helpful setting, especially if you're working with audio recorded in a room with a lot of echo. As mentioned before, be careful not to overuse this effect.
Ducking Your Music
One other handy feature to explore within Essential Sound is ducking your music tracks. Simply put, this allows your music to automatically lower and raise its volume alongside other sounds in your timeline.
This is a particularly useful feature when you're working with a music track that plays under dialog, as it reduces the time it takes to manually lower and raise your music volume.
To start, make sure that your music clip has the Music tag applied, with either the Smooth Vocal Ducking or Hard Vocal Ducking preset chosen. These dictate how abruptly the volume of the clip falls or rises alongside other audio.
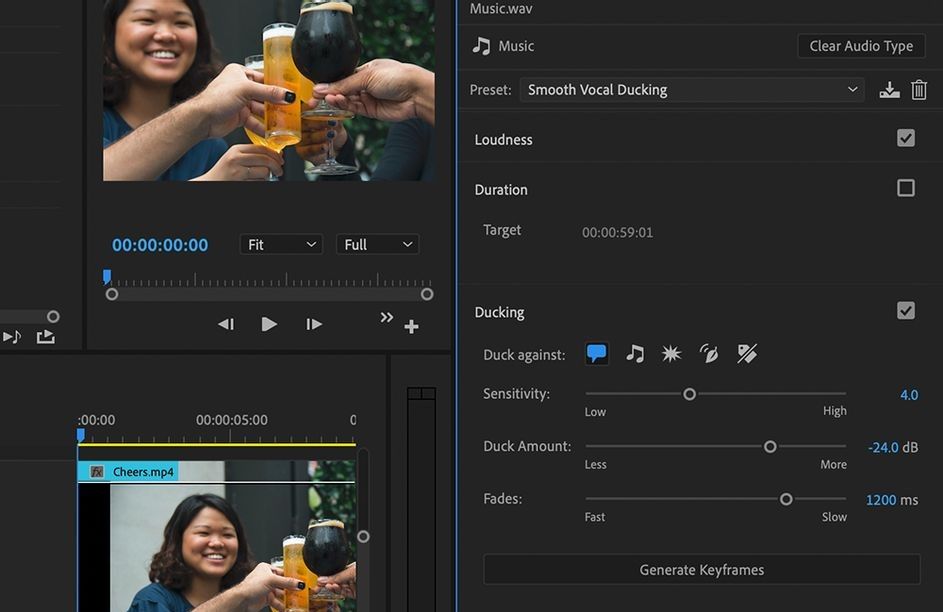
The ducking settings allow you to determine which tags trigger it—the most common use is to have it duck during dialog. Select the tag icons to determine what you want your audio to duck against.
You can then select how sensitive the ducking process is (Sensitivity), how much the audio should lower by (Duck Amount), and how quick the transitions should be (Fade). Once you are content, click Generate Keyframes.
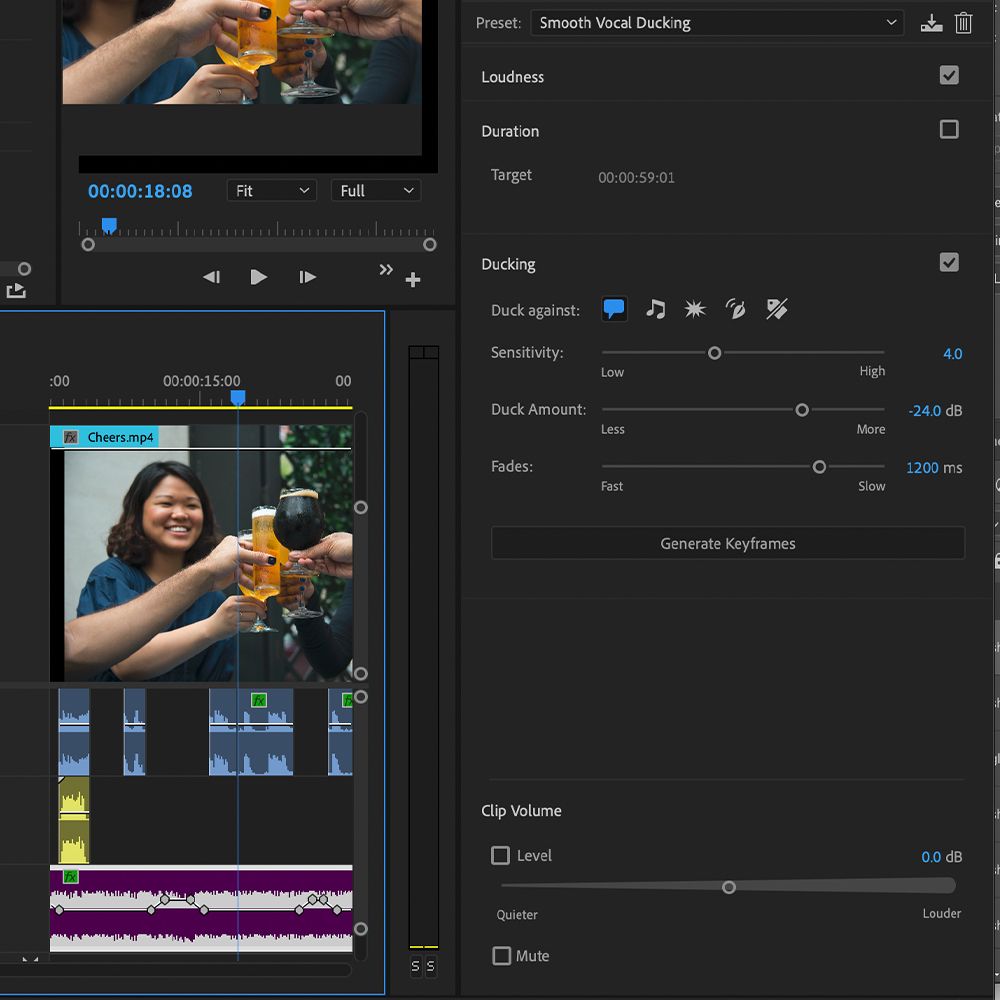
After some calculations from Premiere, you should now have music that automatically lowers alongside other audio tags in your timeline. If you're unhappy with the results, simply adjust the sliders and regenerate the keyframes. The sliders can also be adjusted manually from the timeline.
Taking Your Audio and Video to the Next Level
Essential Sound is a great tool to get your videos' audio sounding level and clearer. If you want to move even deeper into the world of audio mixing for more professional results, there are many tools available to help you get started.
Comments
Post a Comment